Blueprints · free to use
You can build this.
Every Tendu Studio cover fits a base you can make in an afternoon, from hardware-store materials. Here's how we'd do it.
The frame is a one-time build. The cover is the look.
Light it safely. Use battery or rechargeable LED lights only: puck lights, LED strips with a battery pack, or LED lanterns. Never mains wiring inside a cover or frame.
01 Honeycomb board · no tools but a knife
Square column
For a 36 × 36 × 150 cm cover
36 36 36 36 1 2 3 4 150
Board 148 × 150 cm · dashed = V-groove fold · hatched = 4 cm Velcro flap
Folded
You need One honeycomb board, at least 148 × 150 cm Adhesive Velcro, 150 cm Ruler, pencil and a sharp knife Optional lid: 36 × 36 cm board Optional: battery LED lantern inside Steps Mark fold lines on the back every 36 cm, leaving a 4 cm flap. Cut a V-groove along each line, through the core but not the front paper. Fold into a box along the grooves. Close it with Velcro on the flap, top to bottom. Slide the Tendu Studio cover on from the top.
02 Corrugated plastic · glows with an LED
Round column
For a Ø 40 × 150 cm cover
128.7
150
Ribs vertical · hatched = Velcro overlap
Ø 40 cm
Disc × 2 · Ø 39.4 cm
You need Corrugated plastic sheet, 128.7 × 150 cm (white or opal glows best) 2 discs of board, Ø 39.4 cm Adhesive Velcro, 150 cm, and strong tape Optional: battery LED lantern or strip Steps Cut the sheet with the ribs running up and down. Stick Velcro along the overlap edge, full height. Roll it into a tube and close the Velcro. Push a disc into the top and bottom, then tape. Light it from inside if you like, and slide the cover on.
03 Ring kit + your own sheet
Large lampshade
For an Ø 80 × 40 cm drum cover · flat-packs into a slim box
hatched = Velcro overlap
254.4
40
PP sheet strip, flat Length = Ø × π + 3 cm Velcro overlap
Ø 80
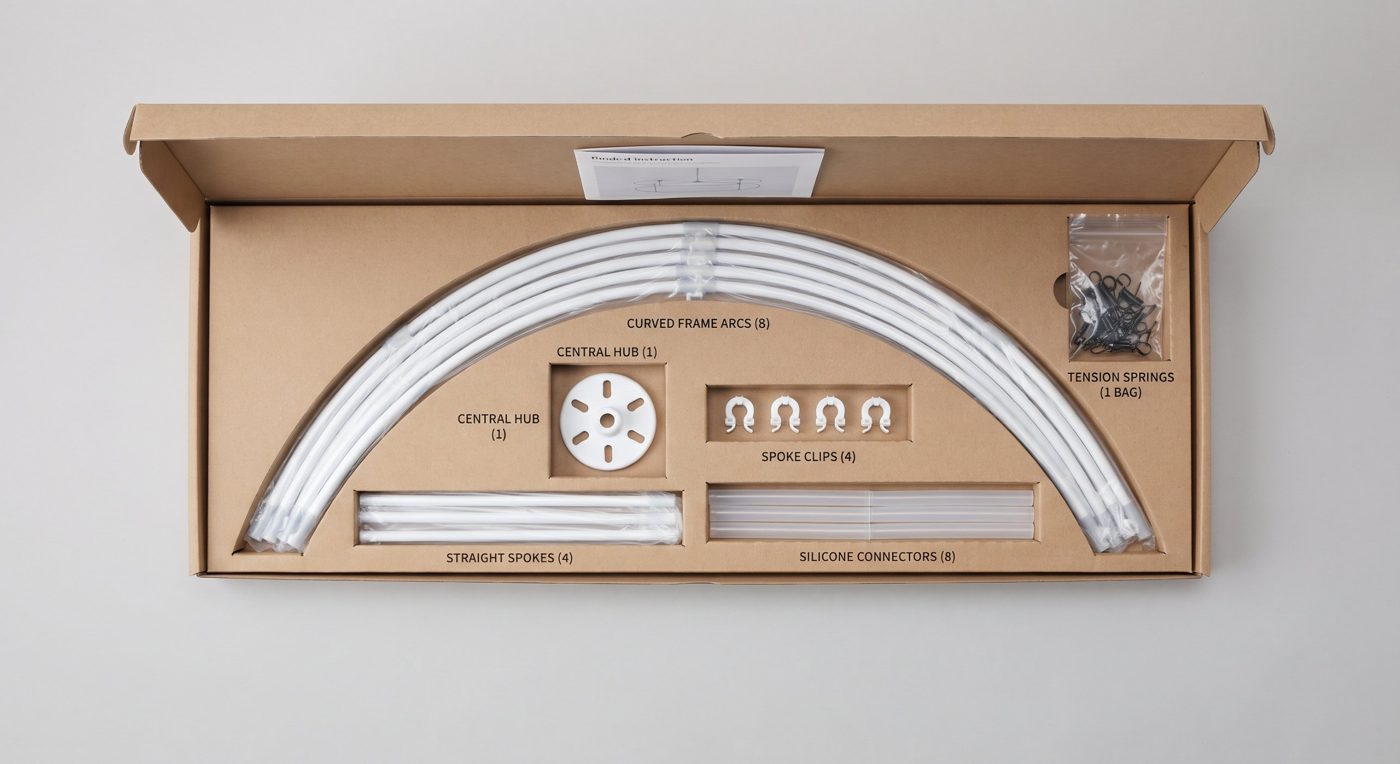
Rings in 4 arcs each · 3 spokes · centre discs
Kit concept · visualisation
You need Tendu Studio ring kit, Ø 80 cm: ring arcs, 3 spokes, centre discs, clips Translucent PP sheet, 0.5–0.8 mm, 254.4 × 40 cm (from a plastics or hardware store) Adhesive Velcro, 40 cm, for a seamless closing A battery LED bulb or puck light A ceiling hook and cord Steps Join the arcs into two rings with the sleeves. Clip the 3 spokes to the top ring and lock them between the centre discs. Cut the sheet to 254.4 × 40 cm and stick Velcro along the overlap edge, full height. Wrap the sheet around both rings, close the Velcro, and clip it every 20–25 cm. Pull the cover over, add the LED and hang it.
04 Table centrepiece · shade + base
The centerpiece
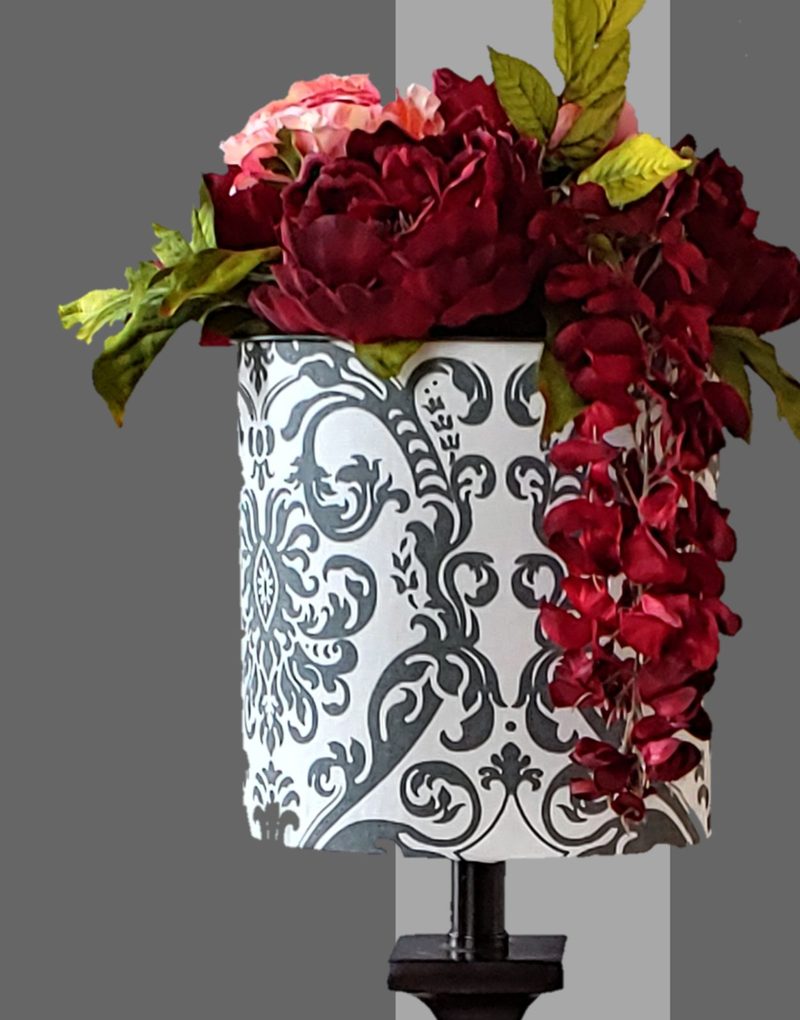
For an Ø 30 × 28 cm shade cover on a candlestick or lamp base
97.2
28
PP sheet strip, flat 2 rings Ø 30 cm (embroidery hoops work)
LED puck Candlestick or lamp base Flowers (optional) From the studio
You need Translucent PP sheet, 97.2 × 28 cm Adhesive Velcro, 28 cm 2 rings, Ø 30 cm: embroidery hoops (inner ring) or the kit rings A board disc, Ø 29.5 cm, with a hole for the base A candlestick or lamp base, and a battery LED puck light Optional: floral foam and stems for the top Steps Stick Velcro on the overlap, wrap the sheet around both rings and close it. Fit the disc on top of the base, then set the LED puck on the disc. Lower the shade over it so the bottom ring rests on the disc. Pull the Tendu Studio cover over the shade. Top it with flowers on a second disc if you like.
05 Ready-made frame · no tools
Display wall
For a 500 × 250 cm tension-fabric cover, single or double-sided
500
250
Tube joints marked in terracotta · feet front and back
You need A ready-made aluminium tension frame, 500 × 250 cm 2 feet (usually included) The Tendu Studio pillowcase cover in the same size No tools Steps Lay the tubes out by their numbered stickers. Push them together into the outer frame. Fit the feet to the bottom tube. Pull the cover over the frame like a pillowcase. Stand it up and zip the cover closed at the bottom.
And the sphere? No frame needed. A 36-inch latex balloon, filled with air, not helium. The cover does the rest.
Rather not build it?
Tell us the piece. We'll guide you.
Send a screenshot from the Preview or a photo of your space. We'll suggest the right base and size the cover to it.